Building my new Computer
About a year ago, I built myself a new desktop computer for editing my photos and videos in addition to playing some PC games too. During the fall of 2020, AMD released their new Zen 3 CPUs and Nvidia released their new RTX 30 series GPUs. Needing something to look forward to while being stuck a home during the pandemic and seeing that my previous computer that was about 5 years old, I thought it was a good time to build a new computer; however, it took me until March 2021 to finally get a CPU and GPU. And big thanks to my good high school friend who was able to get 2 GPUs (one for his new rig too) – I do not know if I would have been able to get one otherwise. As I started gathering the parts, I knew I wanted to create a video documenting my process like the time I built my first PC. This time around I knew I wanted to create a more cinematic video and capture some of the smaller details as well with a macro lens rather than just make a long time-lapse video.
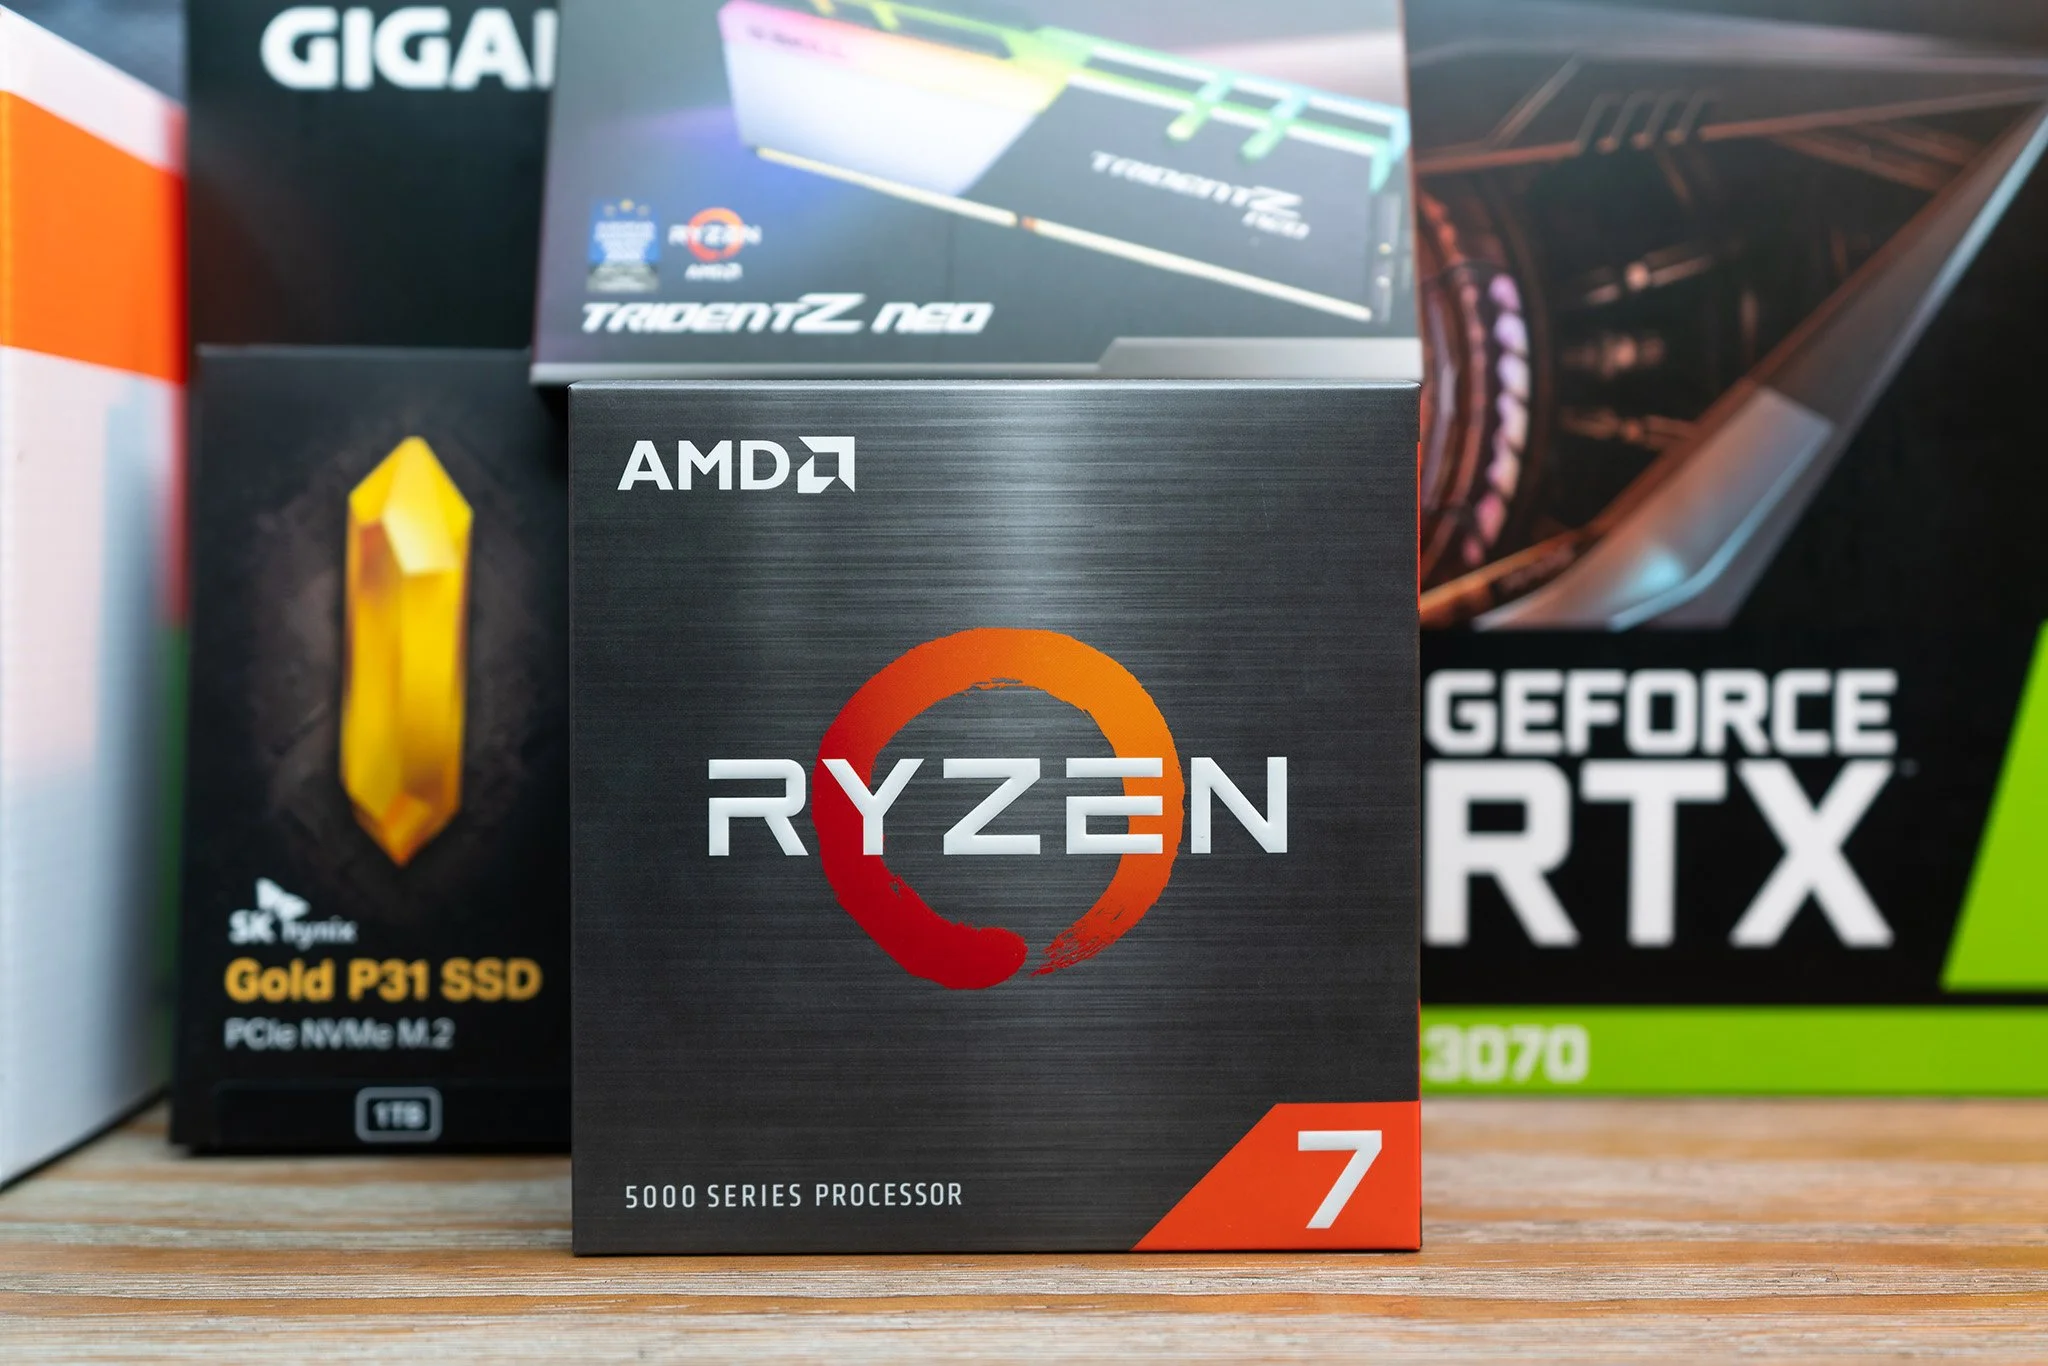
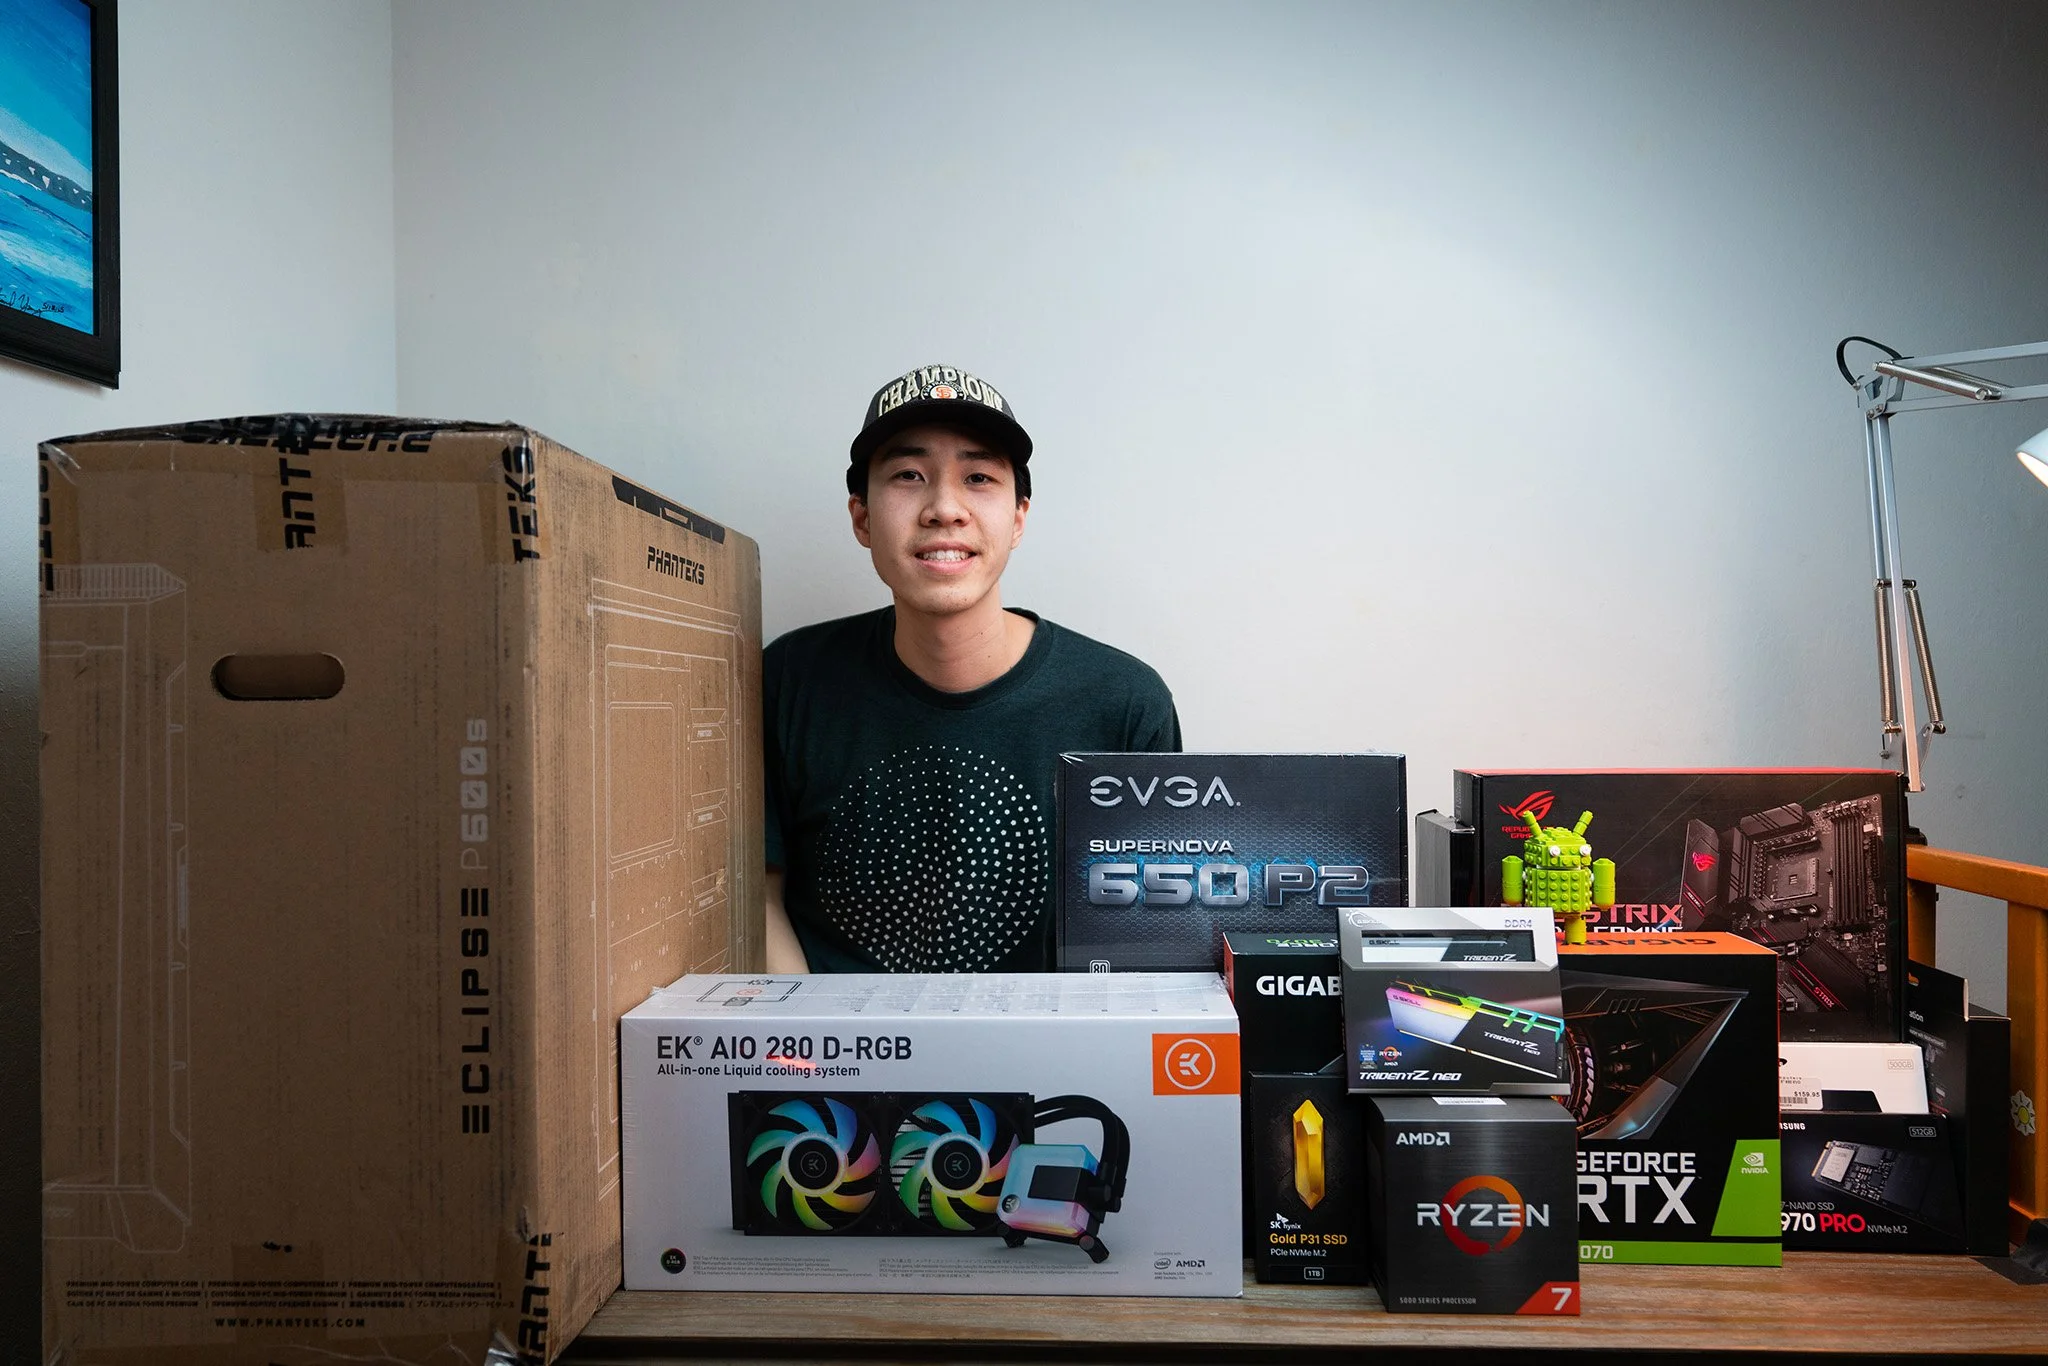
Ryzen 7 5800X, RTX 3070, P31 SSD, and Trident Z Neo Boxes
These are the parts I ended up using:
AMD Ryzen 7 5800X
Asus ROG Strix B550-E
Gigabyte GeForce RTX 3070 Gaming OC
G.Skill Trident Z Neo 32GB (2 x 16GB) DDR4 3600 MHz
SK hynix Gold P31 1TB SSD
Samsung 970 Pro 512GB SSD
EK-AIO 280 D-RGB
EVGA SuperNOVA 220-P2-0650-X1 650W Power Supply
Phanteks Eclipse P600S
LINKUP PSU Custom Sleeved Cable Extension Mod
COMeap Small Mini USB 3.0 Internal Extension Header Cable
Noctua NA-SEC1 Chromax Black, 3-Pin/4-Pin Extension Cables
Airgoo NEON Digital RGB LED Strip for 5V 3-pin ARGB Header
The reason behind picking some of these parts was pretty straightforward – like the 5800X and RTX 3070, they were the only ones I could buy. For the motherboard, I ended up going for a B550 board from Asus over an X570 board because I thought I could save a buck and I did enjoy using my previous Asus board last time too. Well, I have since maxed out all the USB ports on the back of the board and all the internal M.2 and SATA ports. I am not sure if that means I planned the connectivity I needed exactly or I did not get enough in the case when I want to boot to another operating system and need to put in the drive in an external enclosure. Also, I did end up upgrading the 970 Pro to a 2TB 980 Pro as I needed more space for my time-lapses I was working on and being PCIe 4.0 is nice. Although the benchmark scores are better, I am not sure how much of it translates to performance improvements for editing my time-lapses. The specific time-lapse I needed this new drive for is the Geminid Meteor Shower one I took at Alabama Hills which projects to take over a 1TB of storage. I hope to share the complex editing process of this in a future blog, but until then, you can read about the photo version of it in my last blog post.
Building and filming with the Phanteks Eclipse P600S
Building in the P600S case was pretty easy. I liked the ability to take off all the panels which not only allowed easy access to build the computer, but also get some unique angles for filming the video. I enjoyed the white color of the case along with the tempered glass side panel which has been a nice change from the black box I previously had. Also, I got a few things purely for aesthetic reasons. This included the power supply extension cables which I think turned out really nice, some RGB light strips, and an extension cable for the really large USB 3.0 header.
The building process was smooth for the most part – though I did run into a few problems along the way. The first being that the cables for the case fans were not long enough to reach the fan header on the motherboard. This was solved after getting an extension cable. And while the power supply extension cables look nice on the front side, there was a lot of extra slack to cable manage on the back side of the board. The only other problem I encountered was that the computer did not initially boot after building it. It was a pretty simple fix by updating the BIOS using the BIOS flashback USB port on the motherboard.
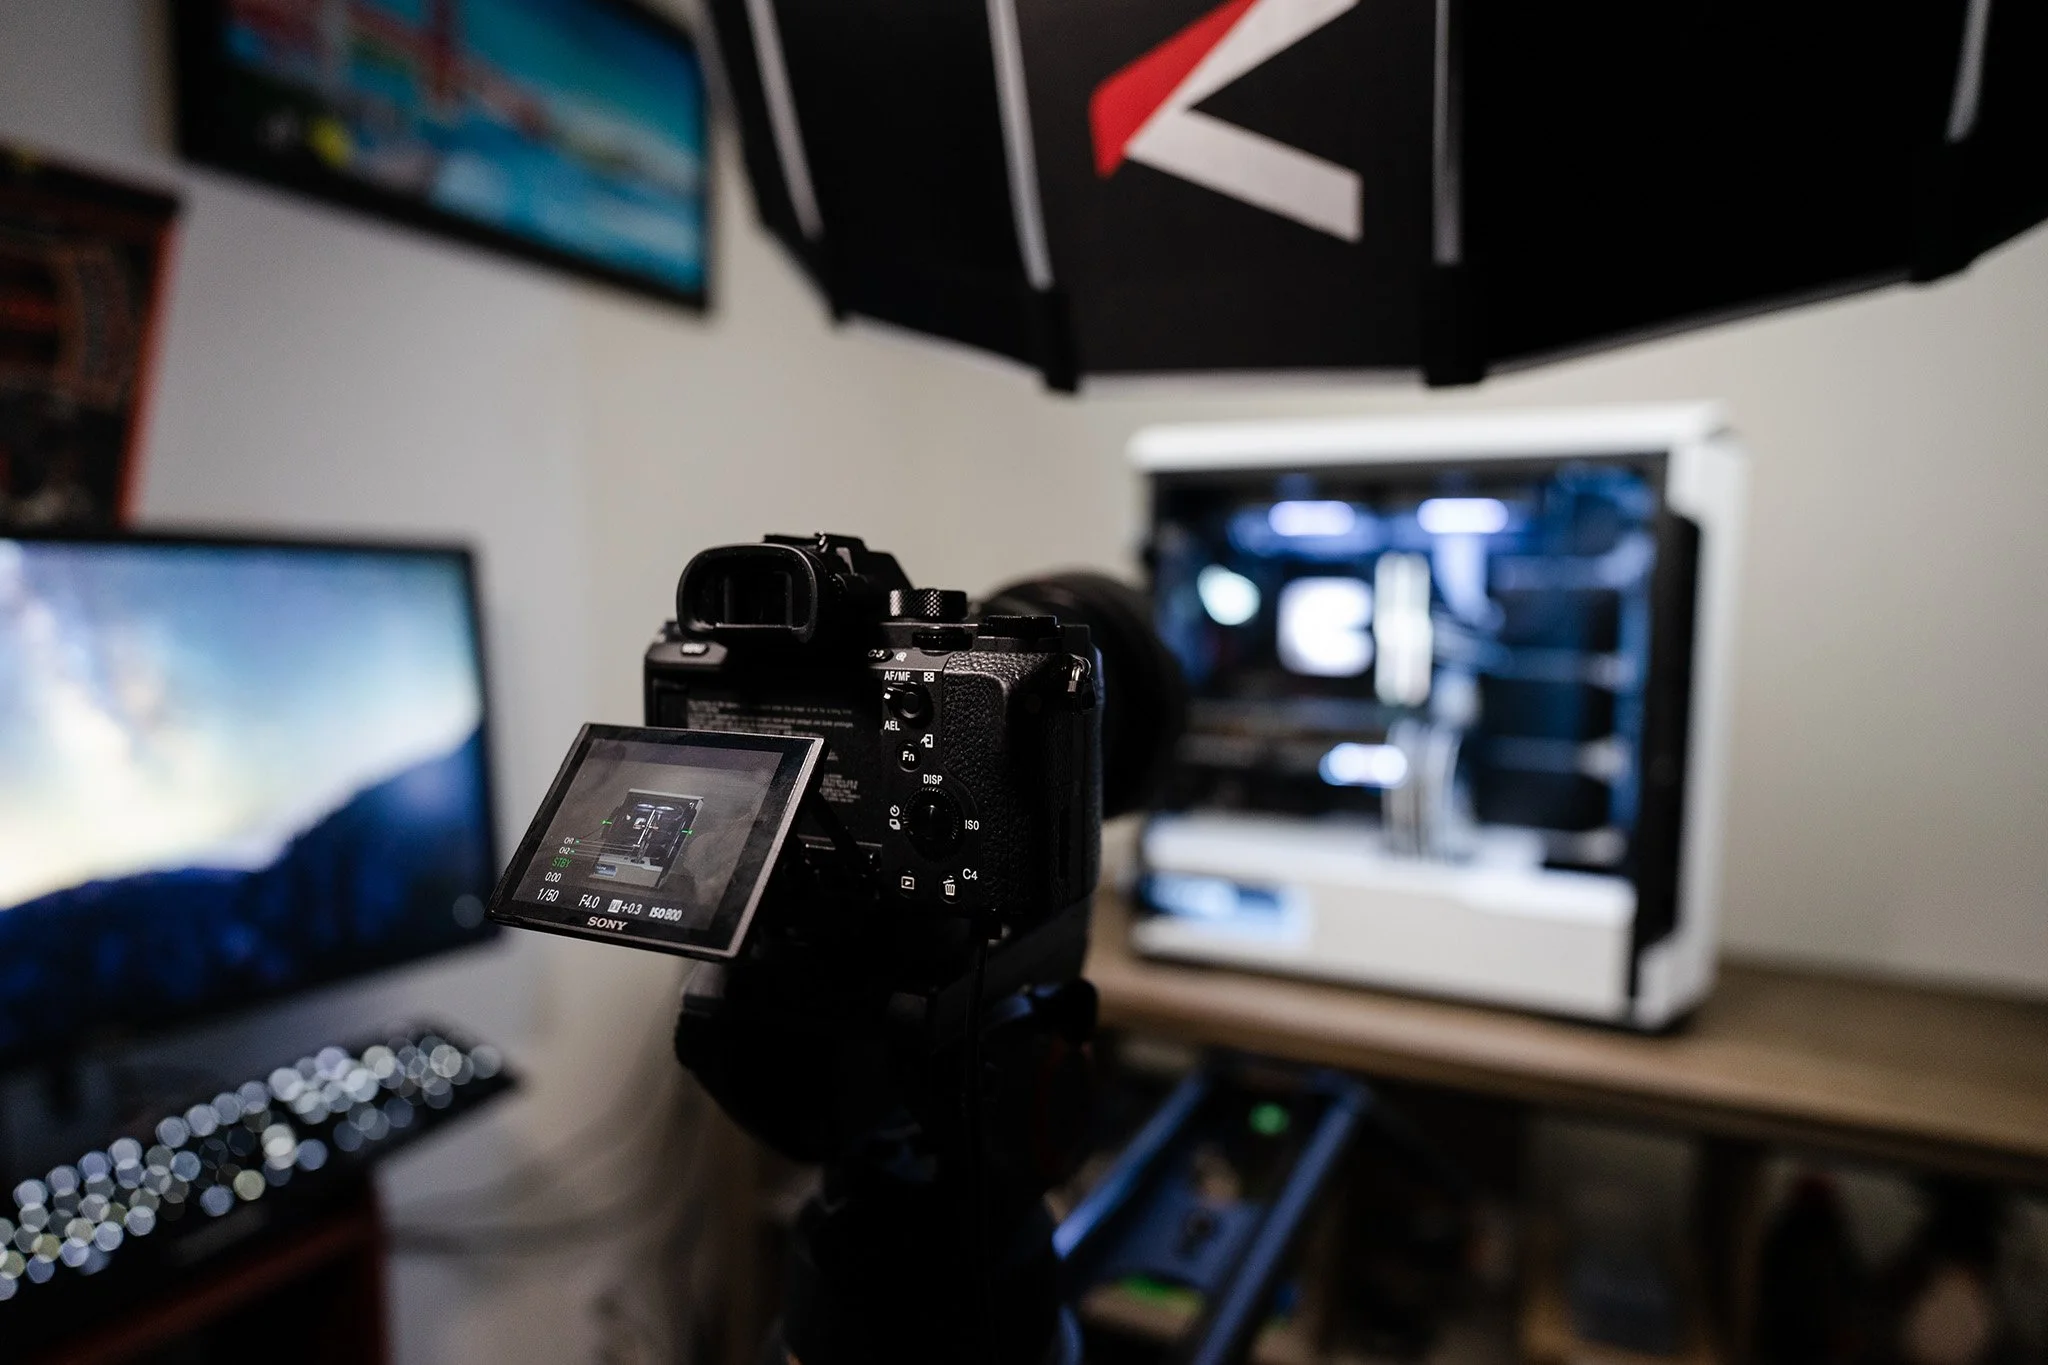
Shooting the completed build
Filming the building process was also quite an adventure. First, I took much longer to actually build the computer because I had to setup my camera for everything, but I did thoroughly enjoy the process. And many cases, if I did not like the shot, I had to do a retake. For example, I think I installed my CPU a handful of times before I liked the way the shot looked. I shot the majority of the video on my Sony Alpha a7R II in 4k which was nice and crispy. For the lenses, I used the Sony 16-35mm GM f/2.8 for the wider shots and the Sony 24-70mm f/4 for some of the medium and close-up shots. That is a pretty standard setup, but I also used an adapted Sigma 28mm f/1.8 EX DG Aspherical Macro for the talking head shot and some cool macro shots. Additionally, I used an adapted Nikon 85mm f/1.4D IF along with some macro extension tubes for a lot of the close-up and detail shots.

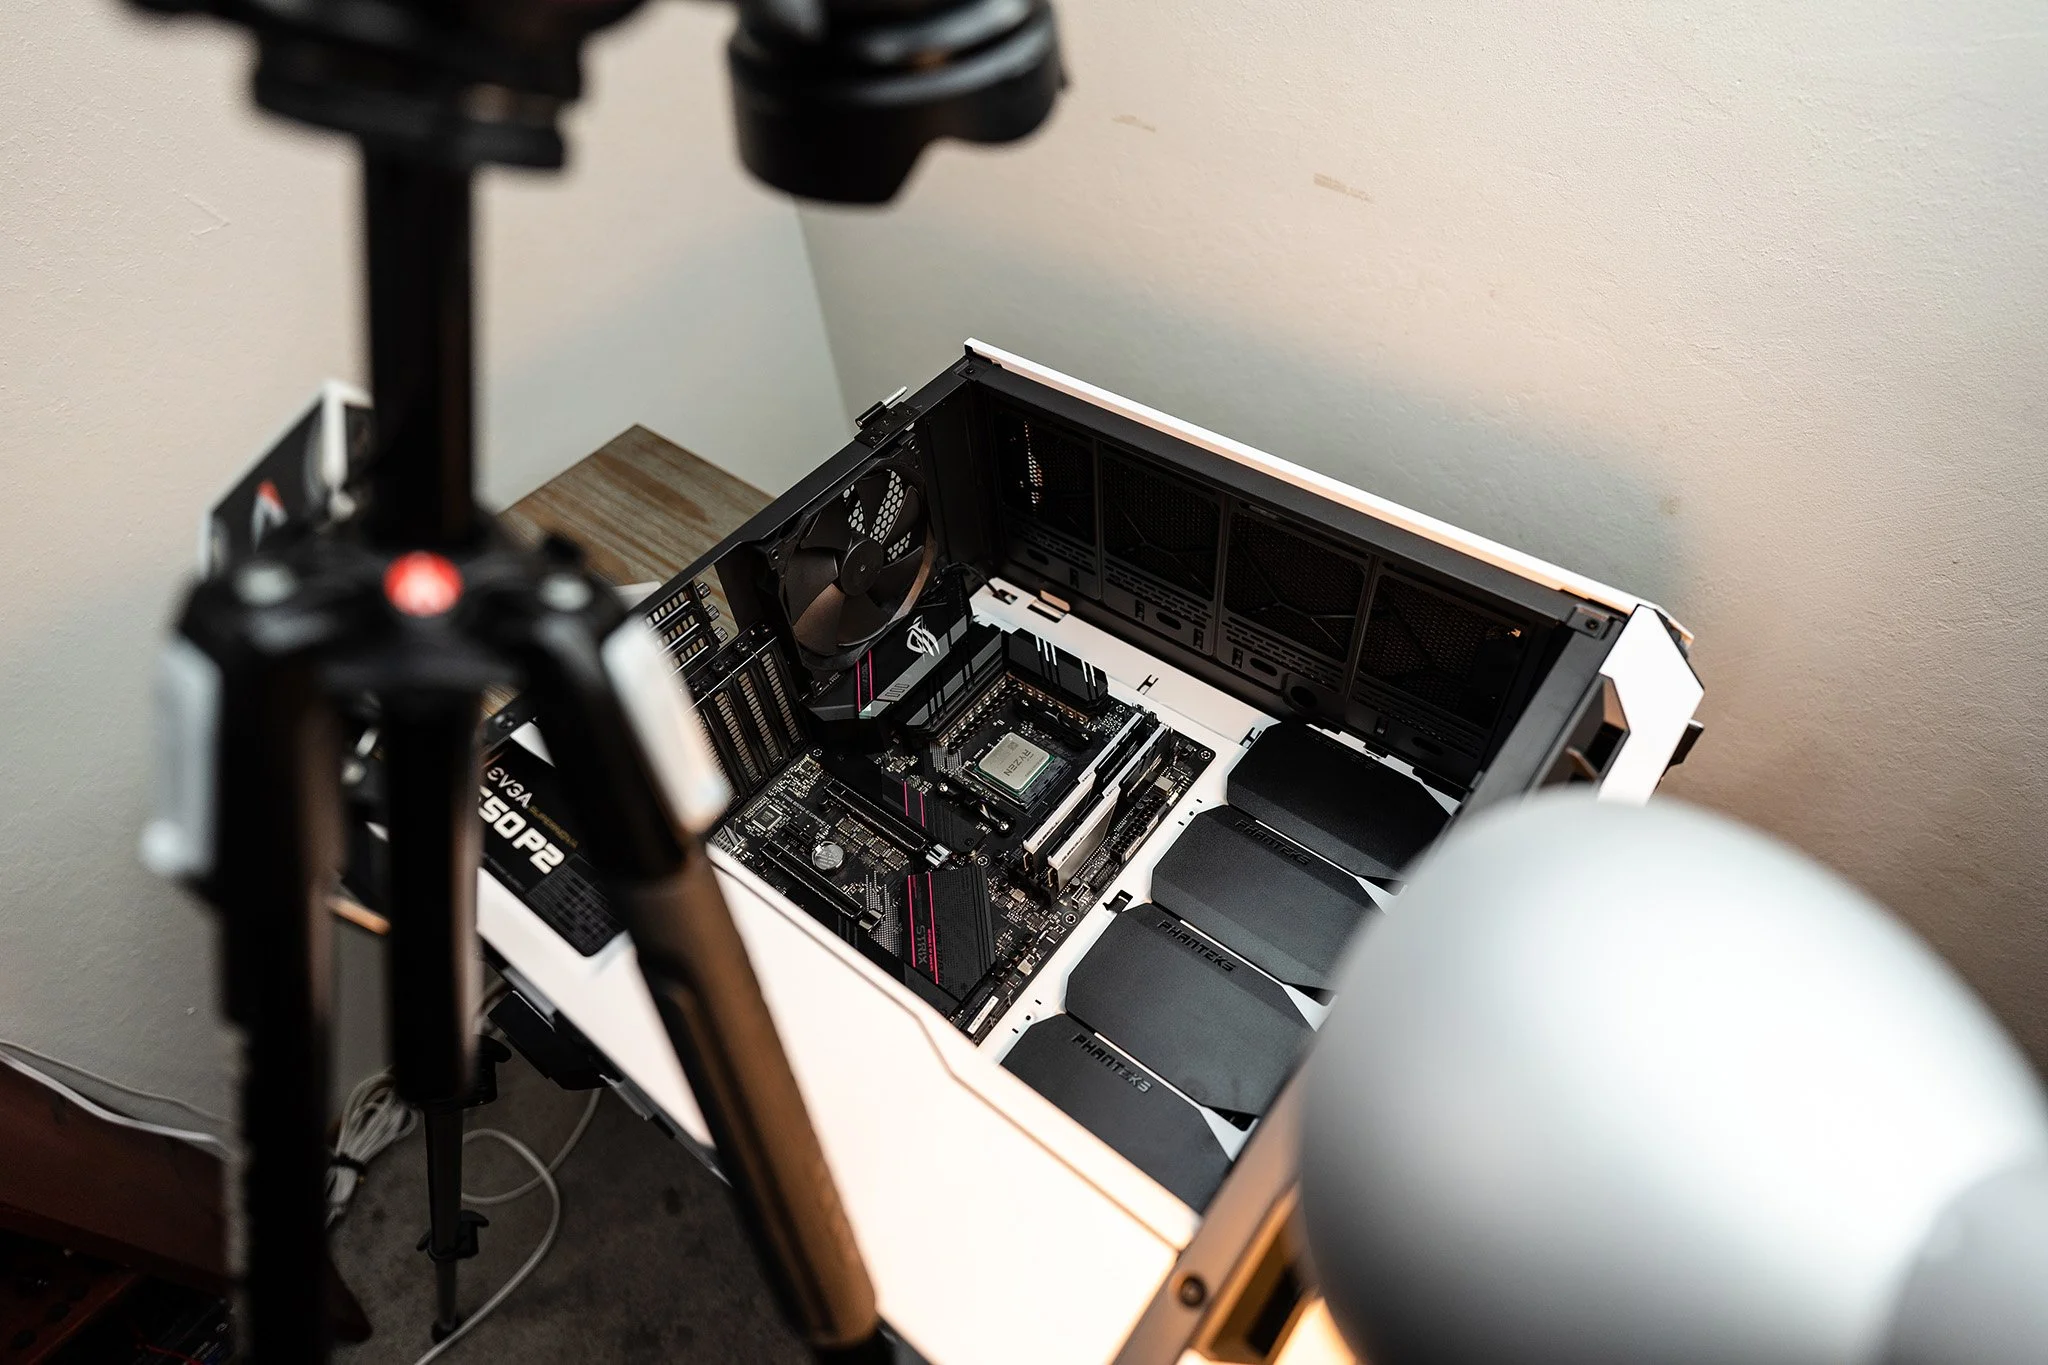
Using the Syrp slider upside down and the Sigma macro lens
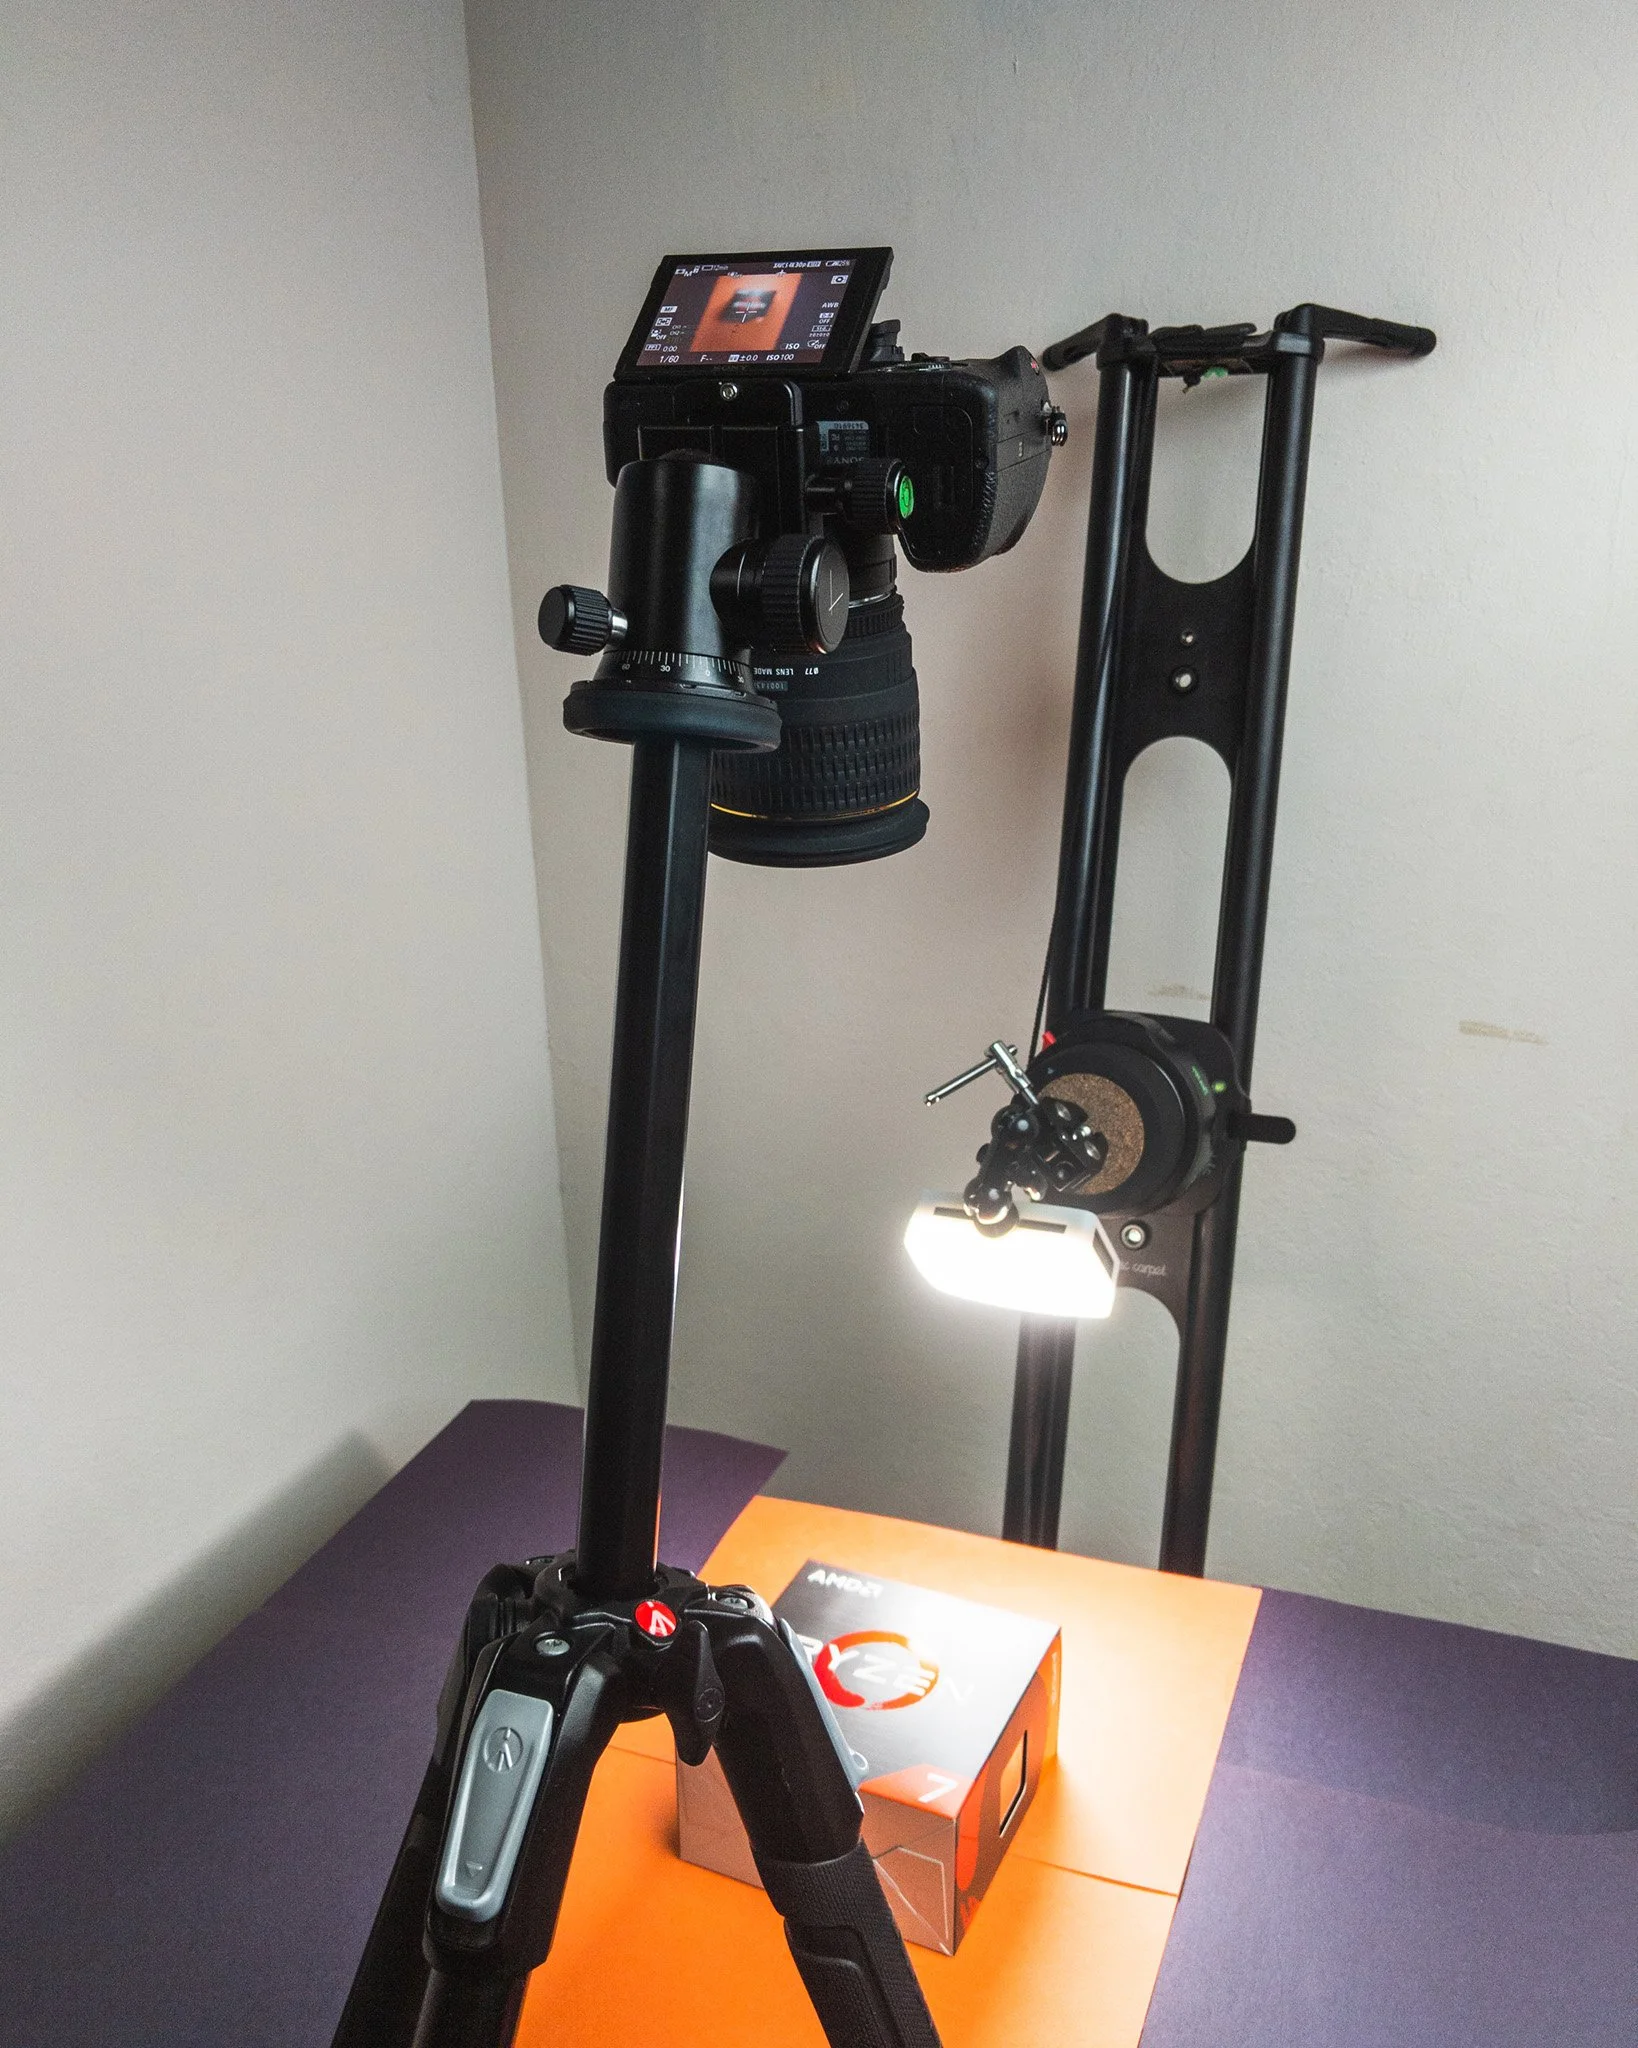
Motion controlled light
Aside from the handful of Aputure lights that I used, my favorite piece of gear I used for this video was the Syrp Genie II slider. It allowed me to create beautiful, smooth controlled motion shots. My favorite shot is where I mounted my slider and camera upside down and moved over the CPU and empty RAM slots on the motherboard with the Sigma macro lens.
Overall, I really hope you enjoyed the video. It has been a long time in the making. I know I mentioned that I was excited to share my photos from Death Valley National Park in my last blog post (still planning on that), but this project has been in the works much longer – and I am happy to finally share it. As for my new PC, it has been performing great, and I have been using it to not only to edit this video and the photos I have posted here on my blog for the last year, but also been enjoying playing PC games too. Some of my favorites have been Forza Horizon 4 (and now 5), Microsoft Flight Simulator 2020, and a handful of less demanding games too. Finally, here are some photos I took the way.
All the parts

AMD Ryzen 7 5800X

Asus ROG Strix Motherboard

G.Skill Trident Z Neo 32GB
Phanteks
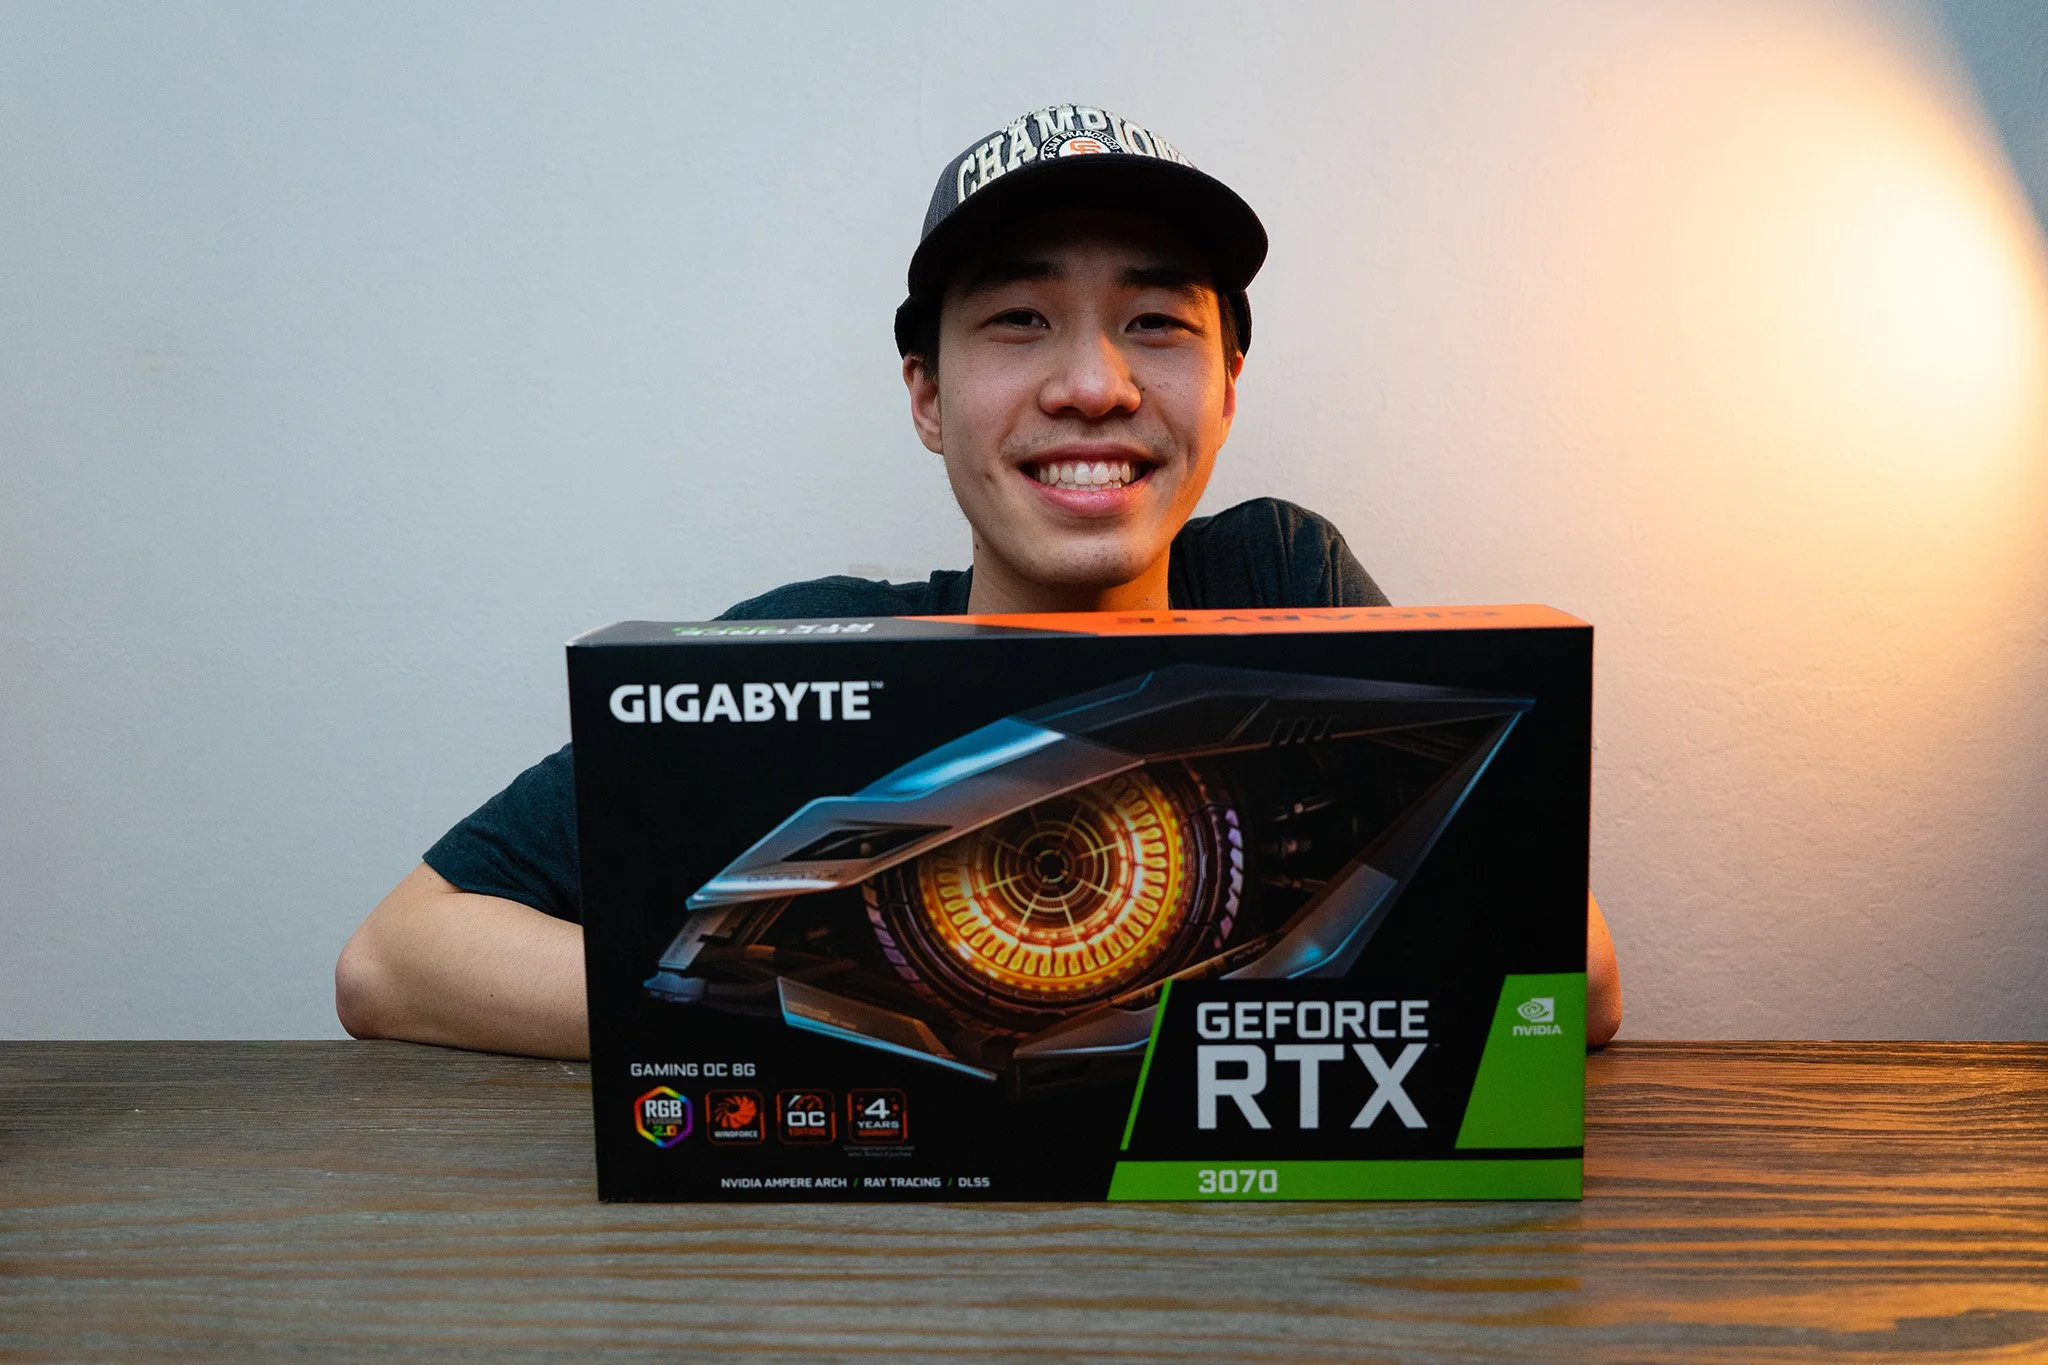
The RTX 3070
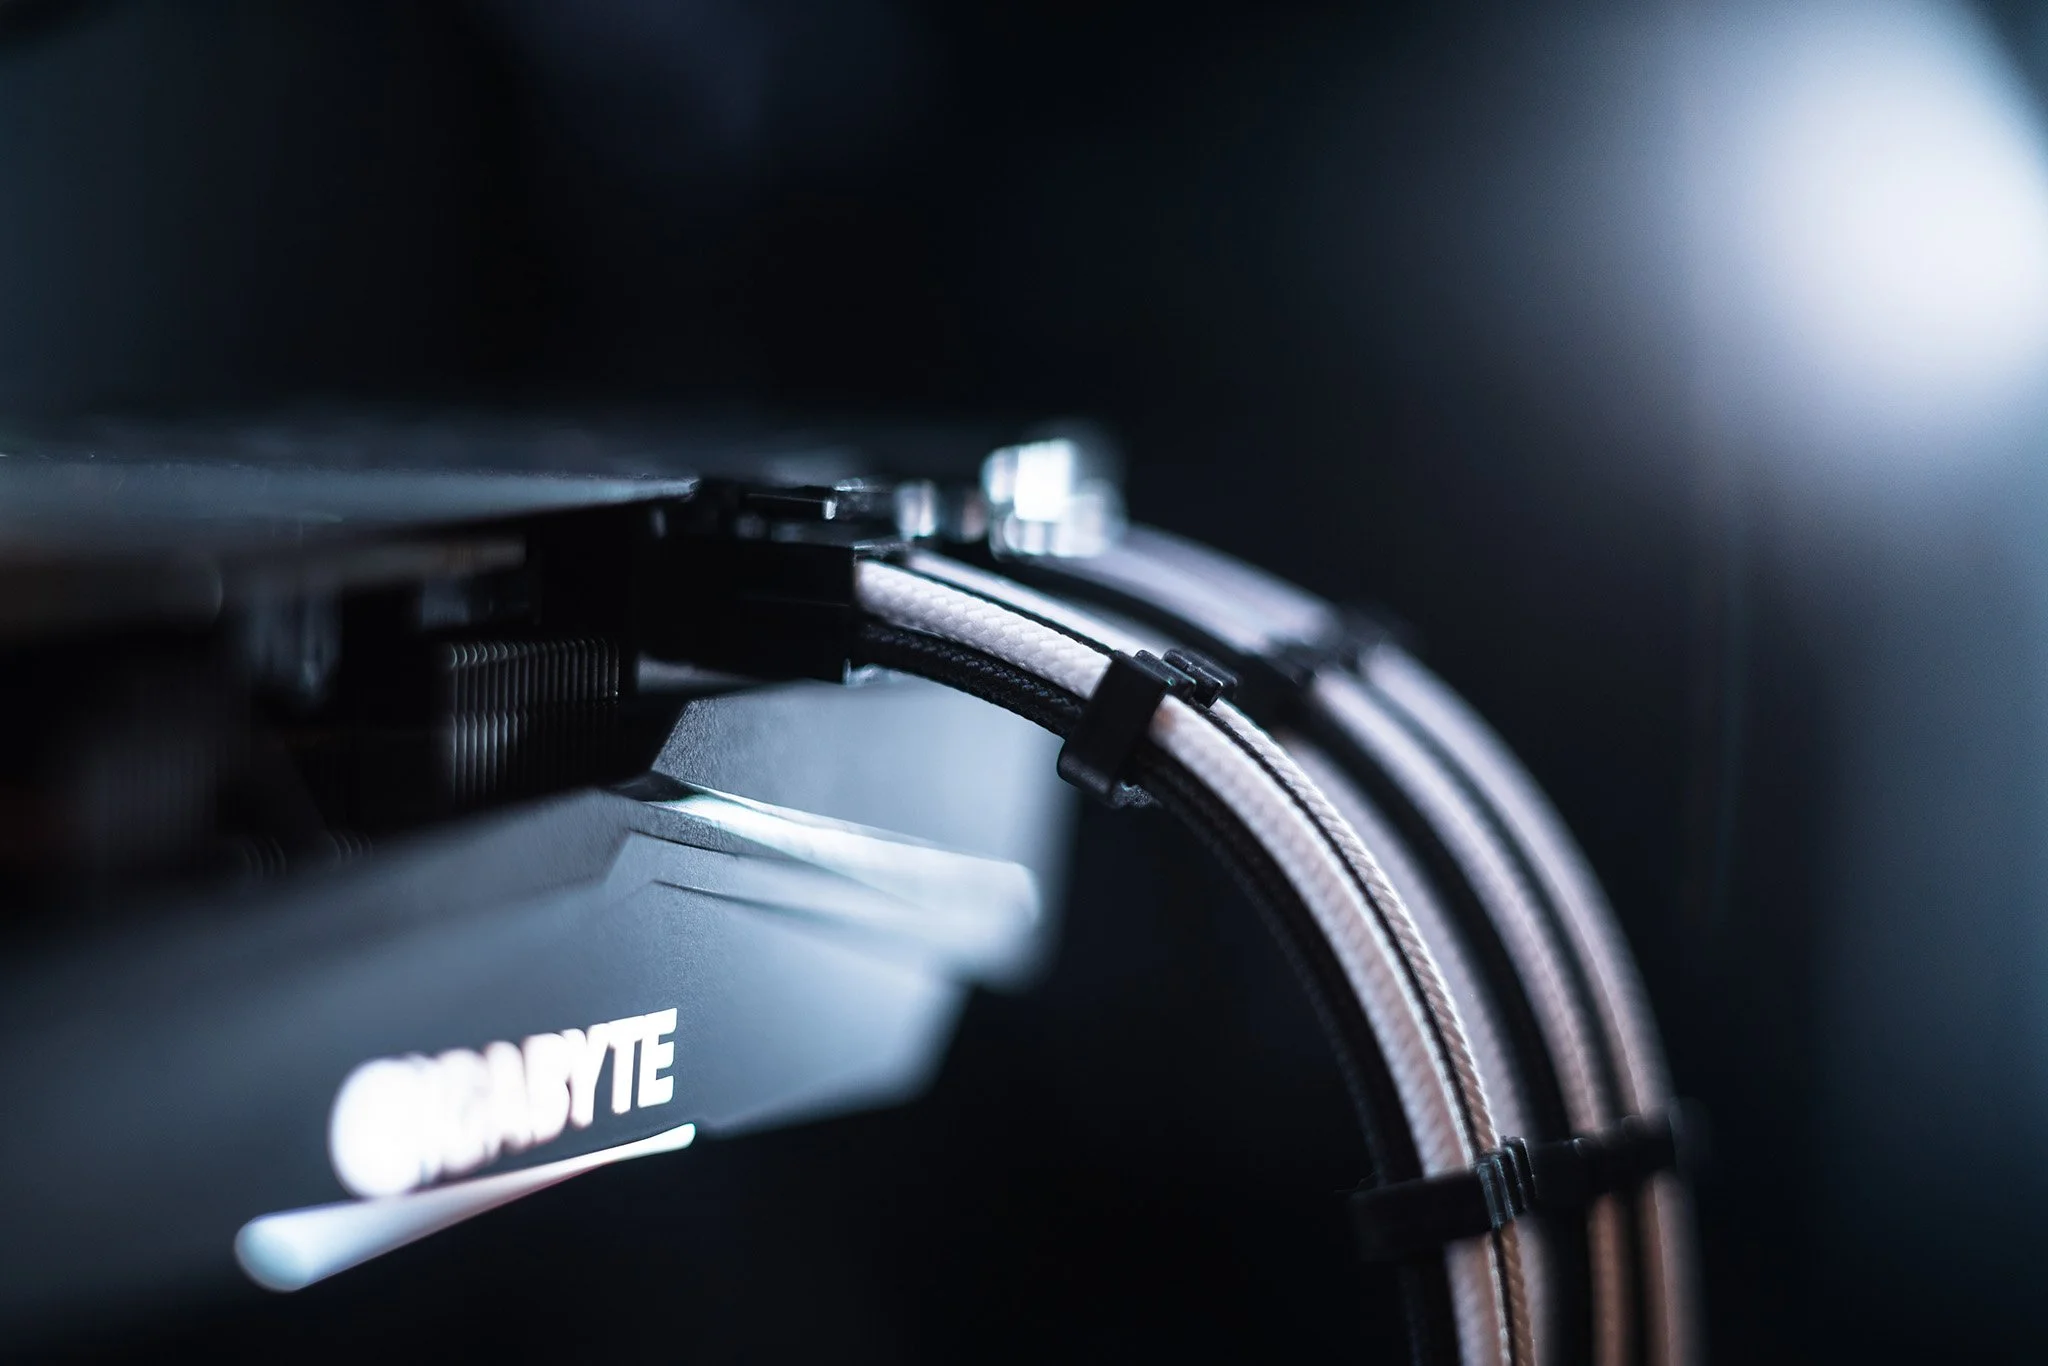
Custom Black and White PSU Cables
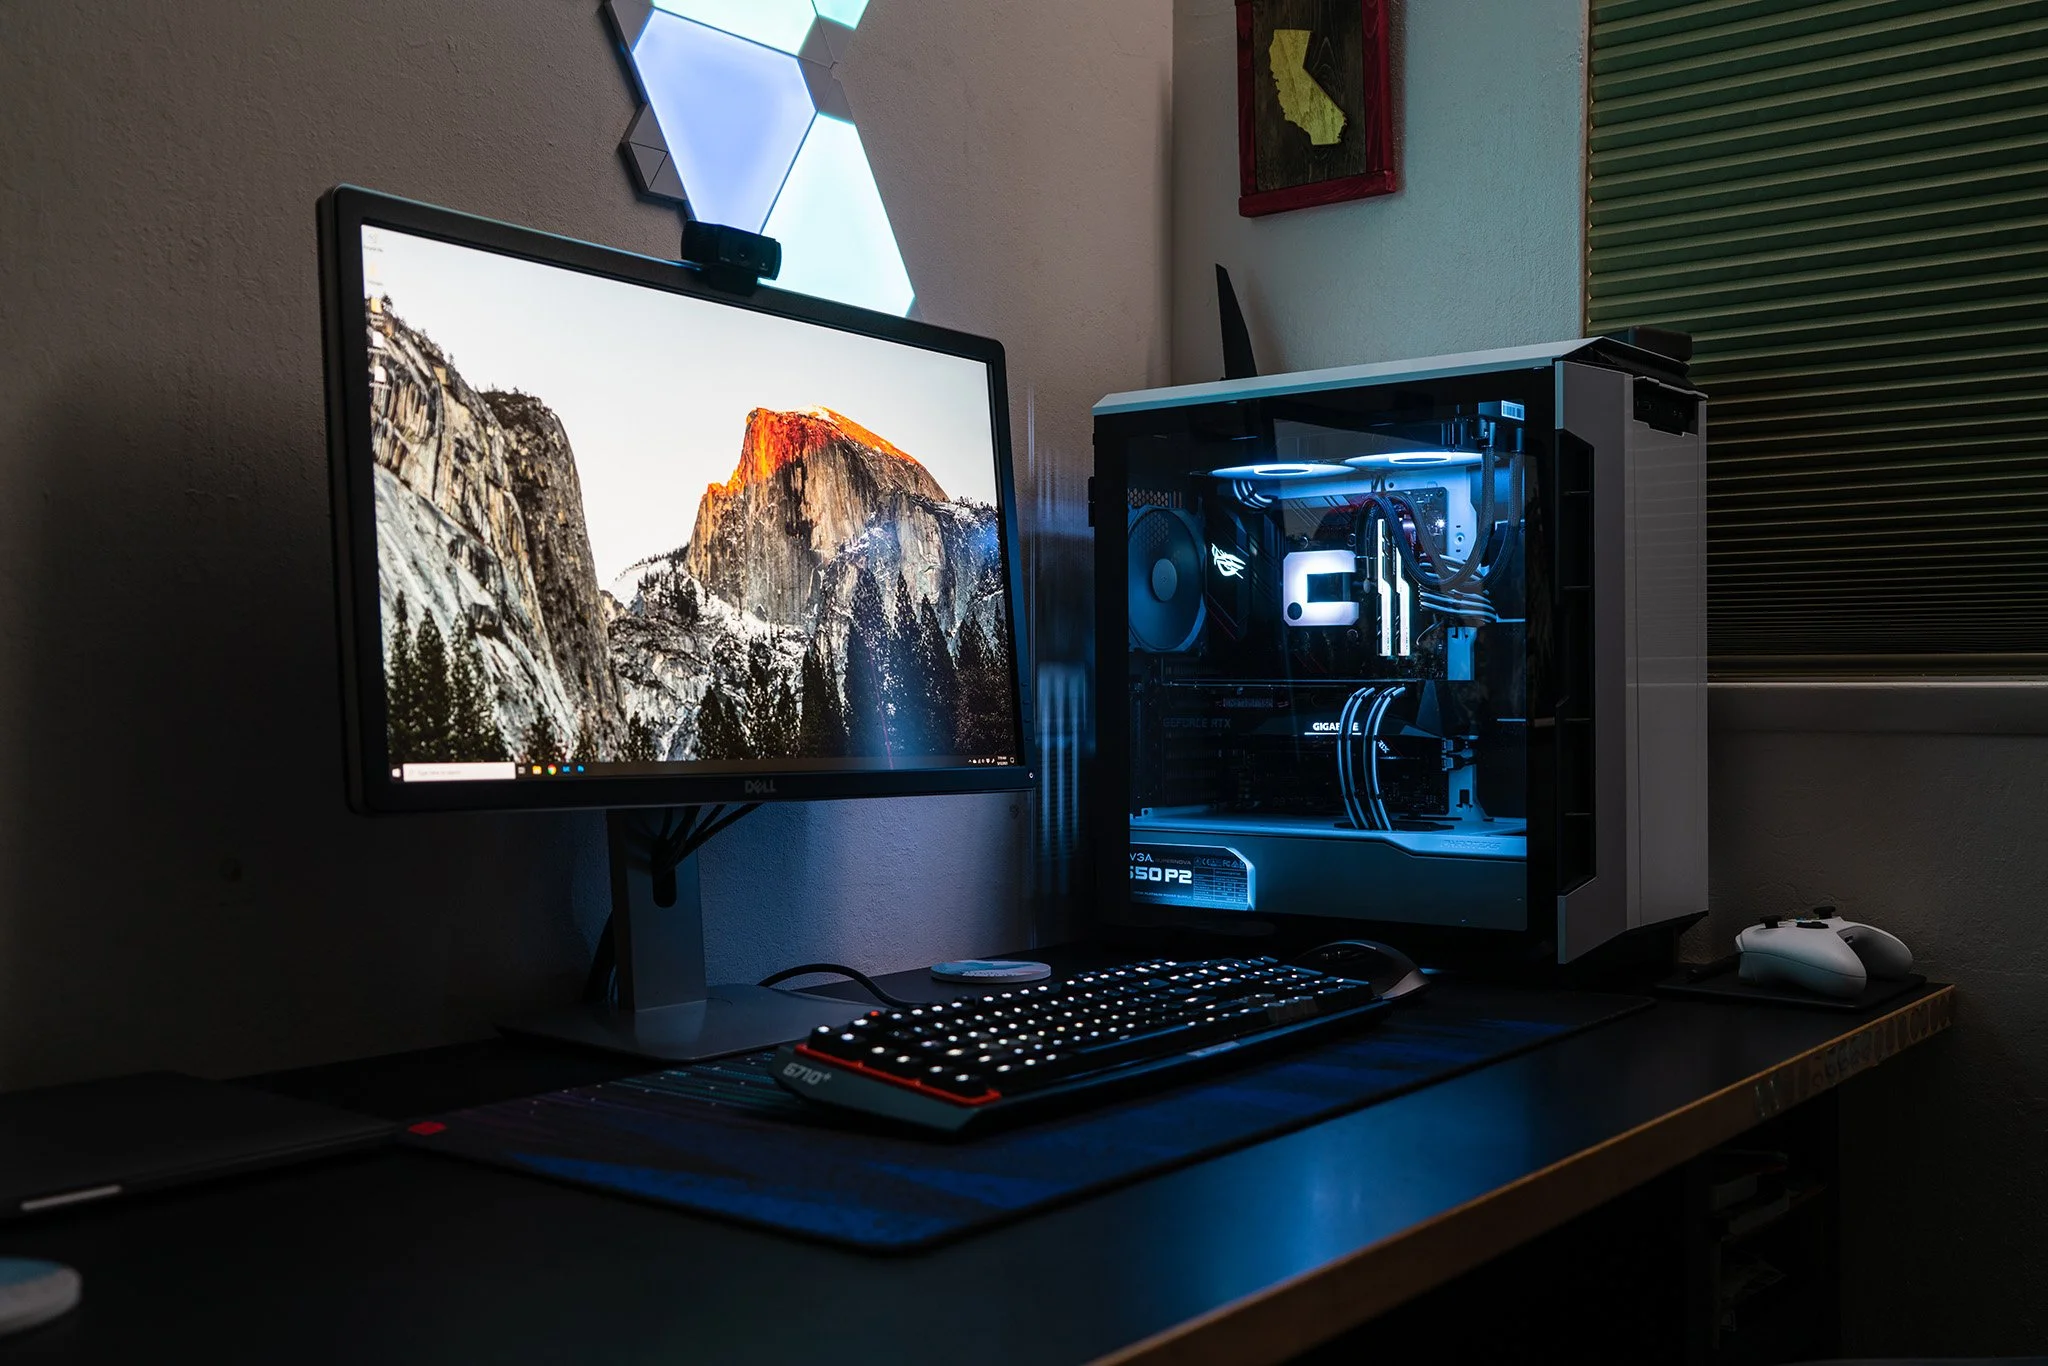
Desk setup with my new computer…although some of this has changed
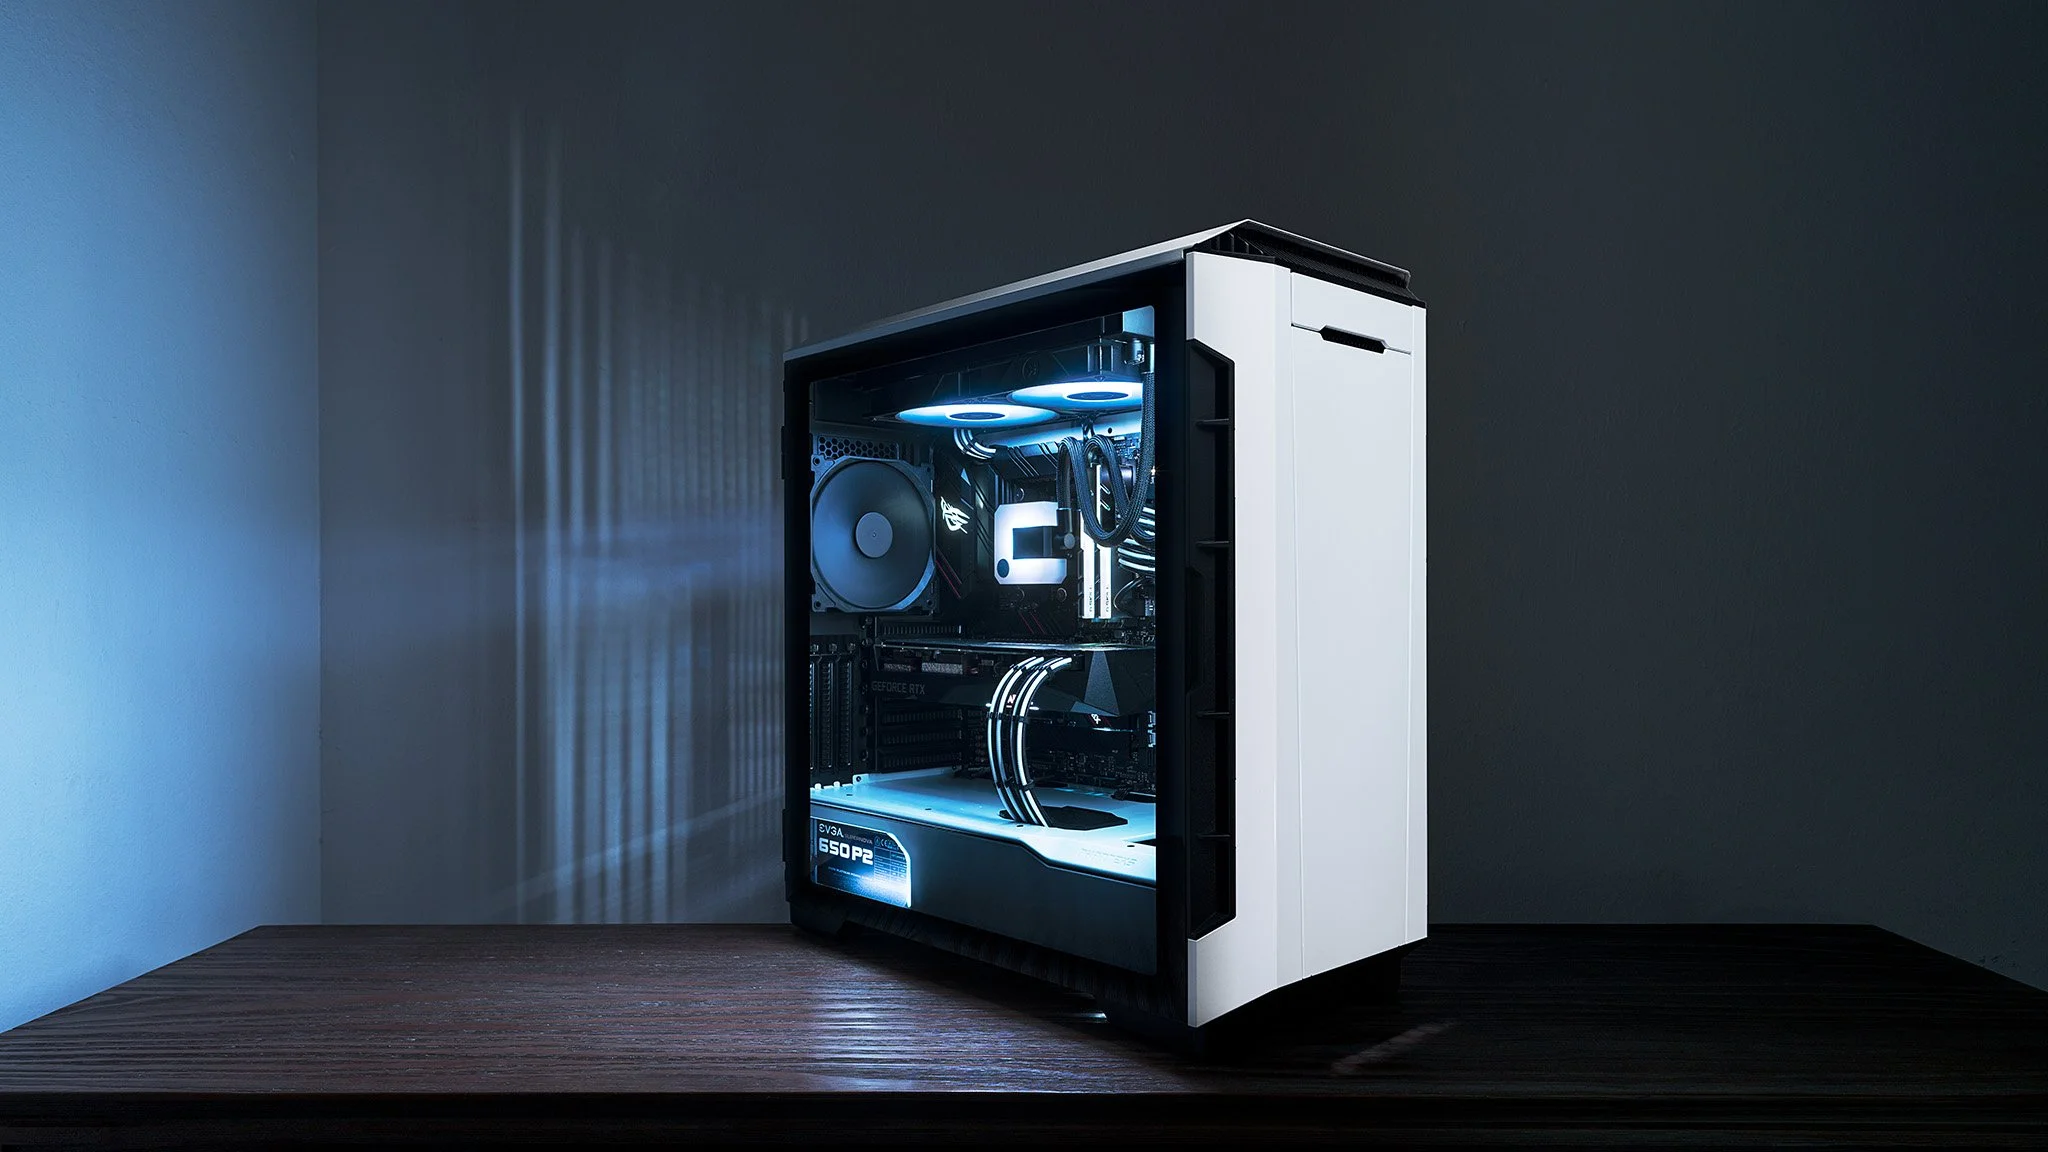
My computer with all of its RGB lights on white
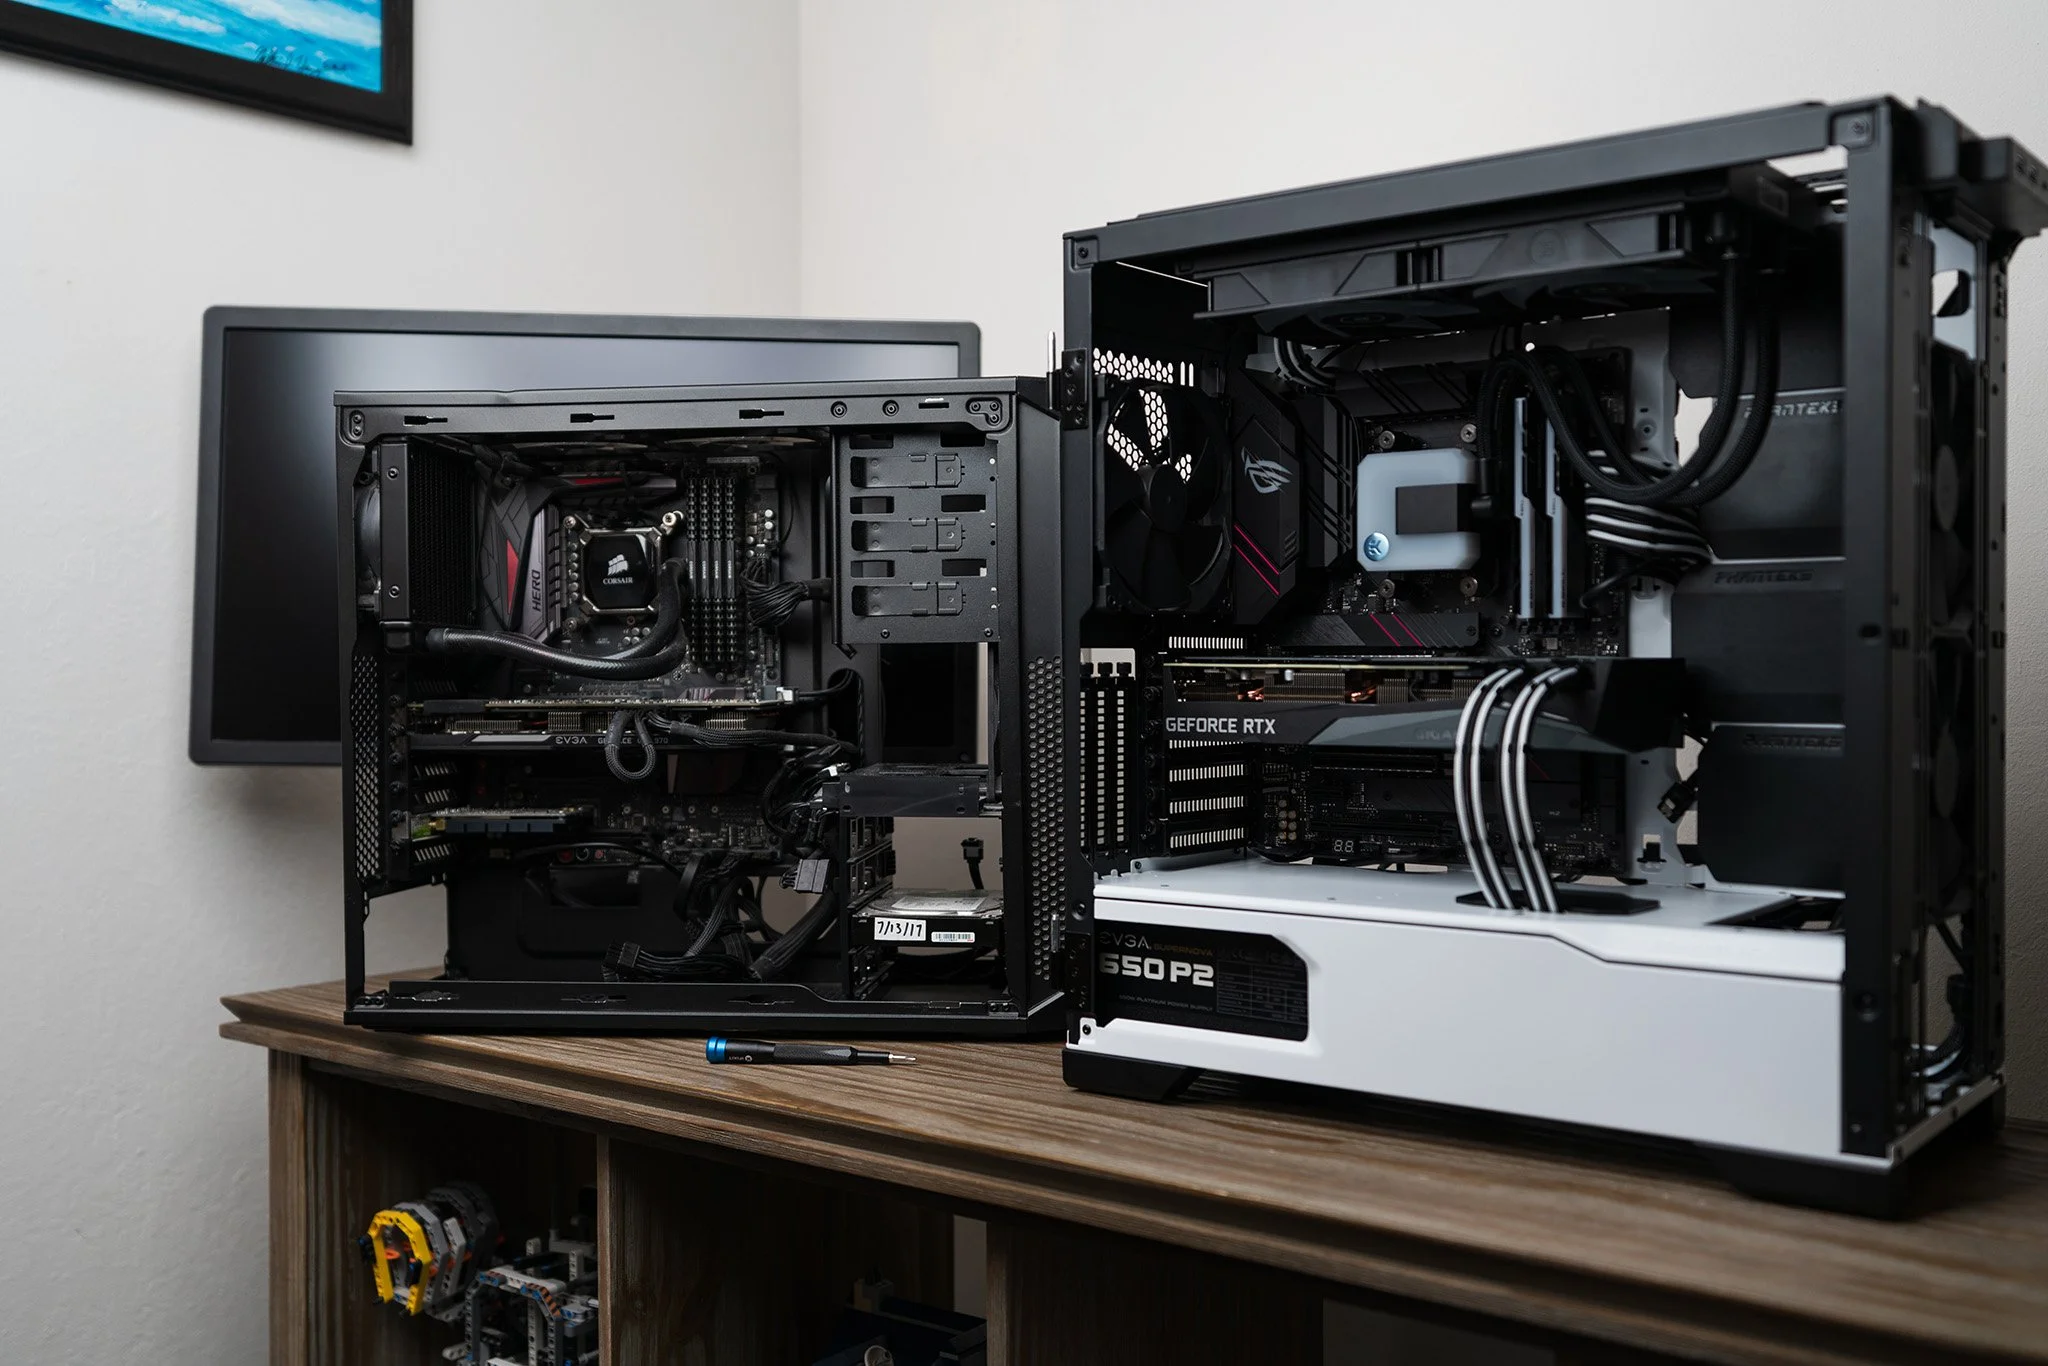
My old computer next to my new computer